


The trick? Having the right tools without overcomplicating things
Getting back into sewing can feel overwhelming with all the tools and “must-haves,” but from experience, you really don’t need much to start again.
A simple, practical kit is enough to rebuild your confidence, and while I’ve spent a lot on equipment over time, I’ve found it’s best to focus on the essentials first, everything else can come later.
Your biggest buy : what actually matters when choosing a sewing machine for the first time
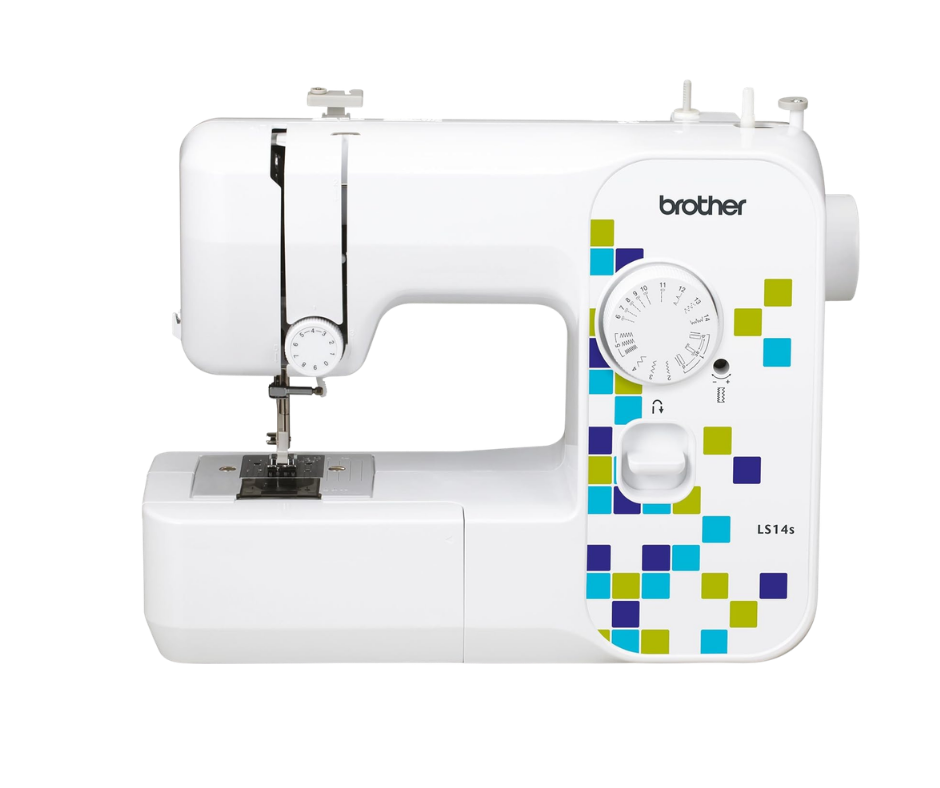
Brother LS14S
This was very much like my first sewing machine, a great little starter, and very affordable
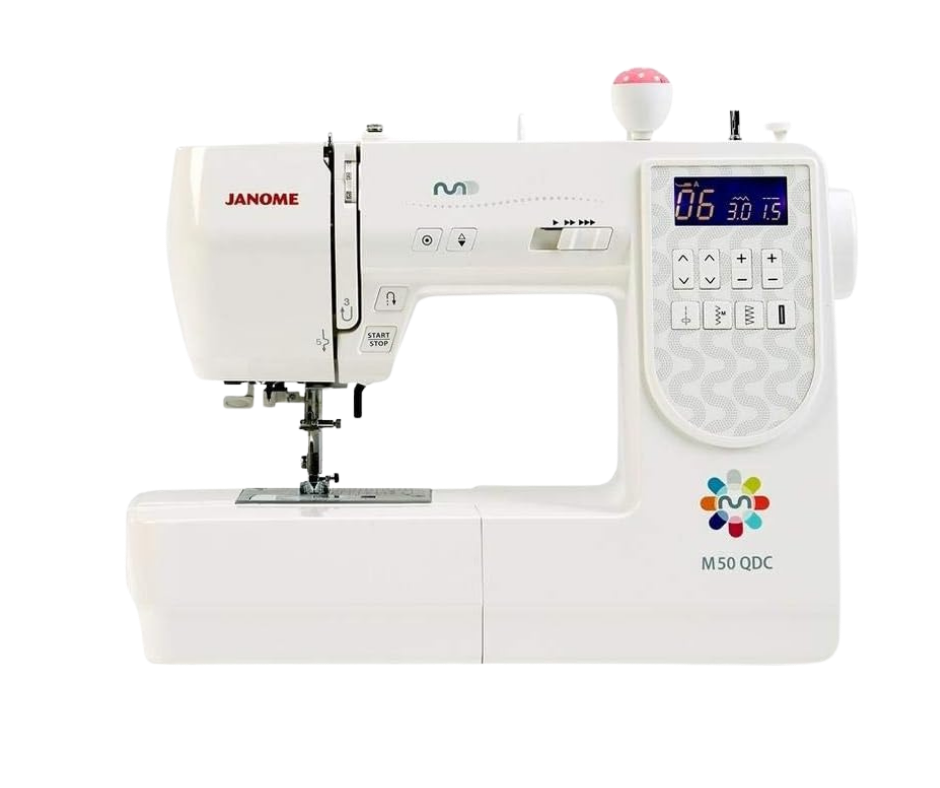
Janome M50 QDC
This is the machine I have, I now prefer the digital stitches menu rather than the dials. The deal also came with lots of extras so I bought at the right time. My advice, bide your time!!
The main things to focus on are, ease of use, reliability and not having too many necessary features, so start simple
- Realistically you will use 3 types of stitches to begin with, zig zag, straight and buttonhole, so look for these first no more than 10-25 different stitches
- Clear dials and not overly complicated menus
- Mechanical rather than digital is best if you’re completely new to sewing, although if you’re a digital lover, that’s absolutely fine, just aim for something simple and easy to navigate. You probably won’t need dozens of embroidery stitches to begin with, so keeping it straightforward will make learning much more enjoyable.
Look for Beginner friendly features
- Top loading bobbin
- Automatic needle threader, this is a must, especially for me!
- Simple stitch selection dial
- Reverse stitch lever
What do you actually want to use the machine for ?
- Repairs, hem, small projects
- Clothes or bags
- Thicker fabrics
Most basic sewing machines will handle the essentials, especially for beginners, but avoid anything under £50, as they’re often unreliable and too small. It’s worth waiting for a good deal or a bundle with extras, as it can offer much better value.
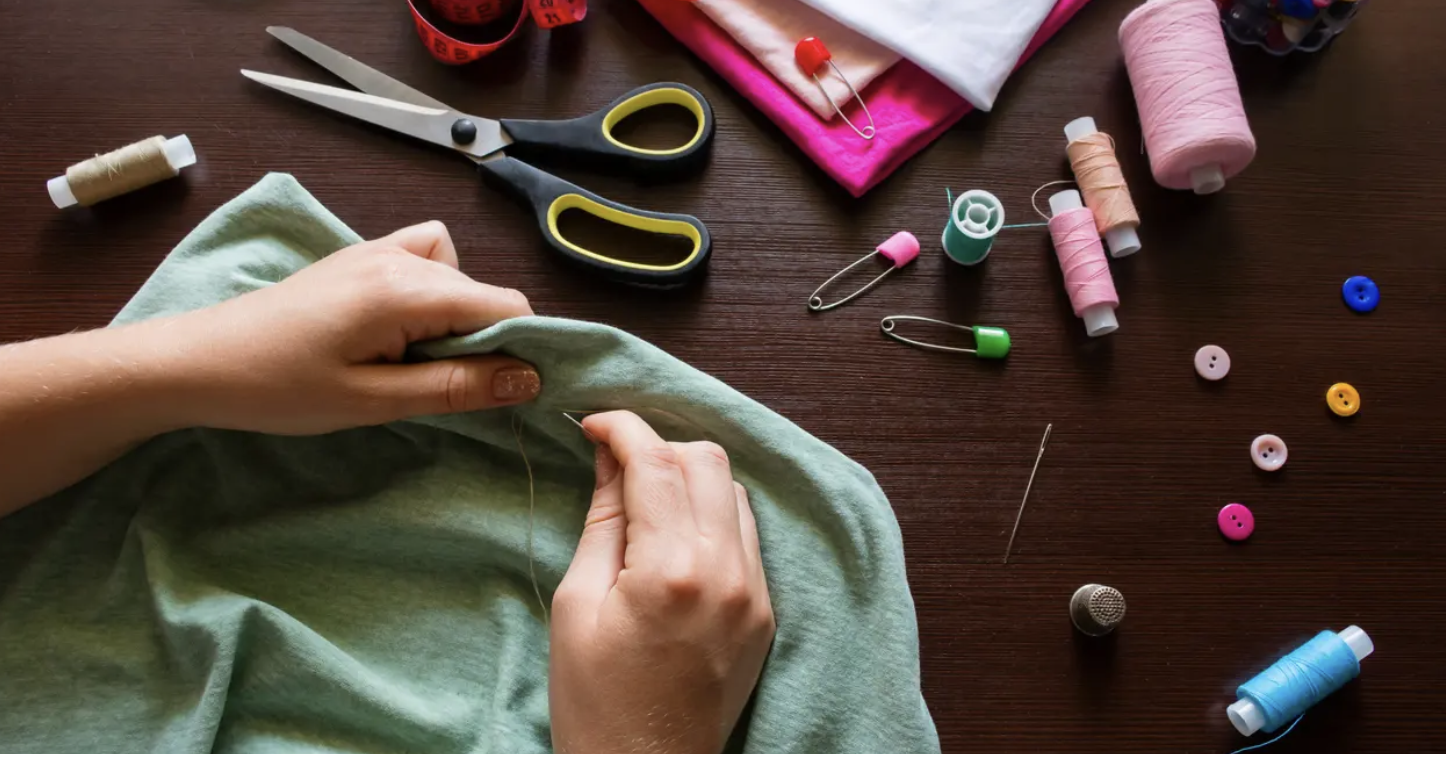
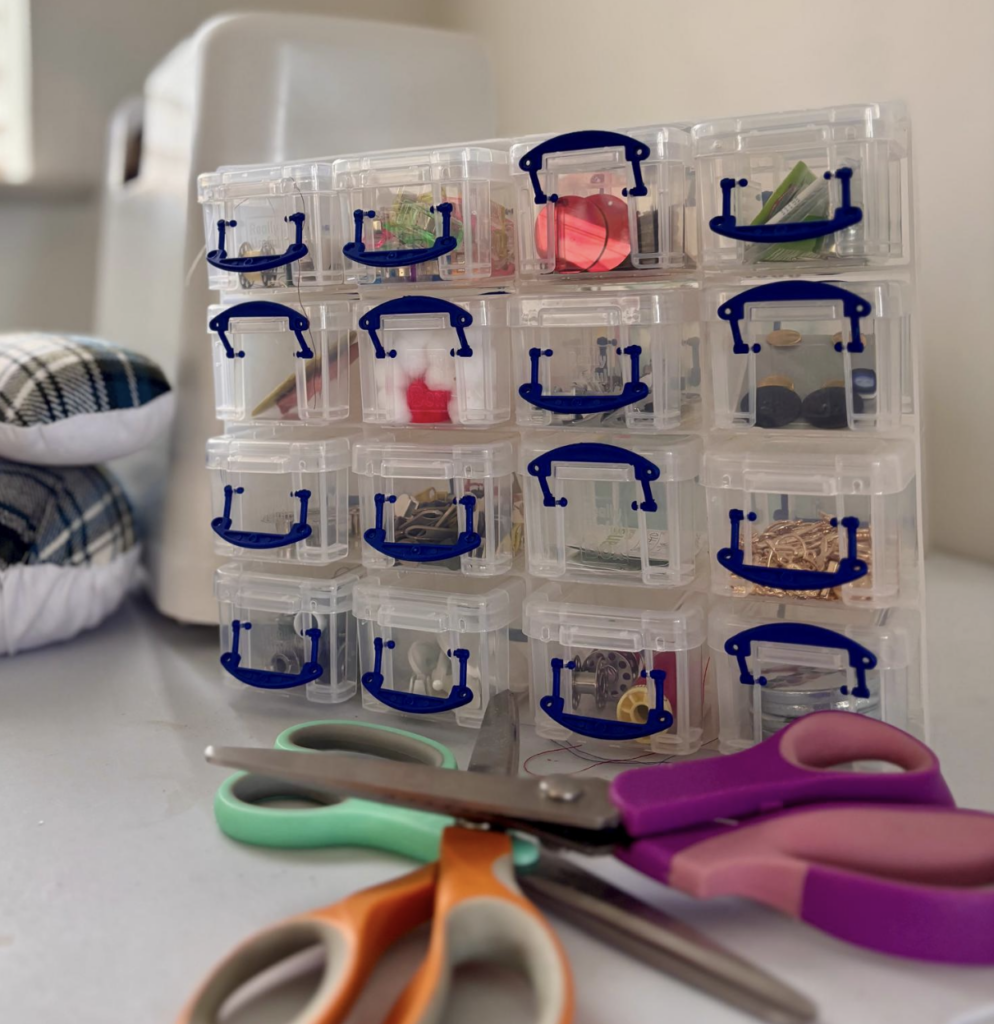
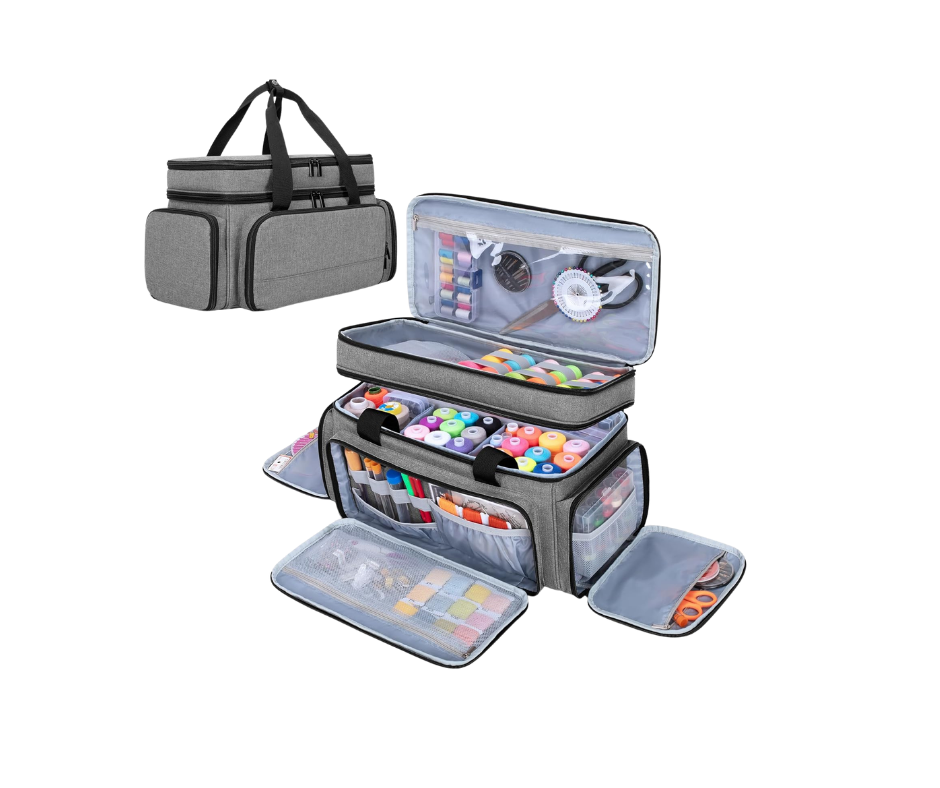
Your core sewing kit to complement your shiny new machine
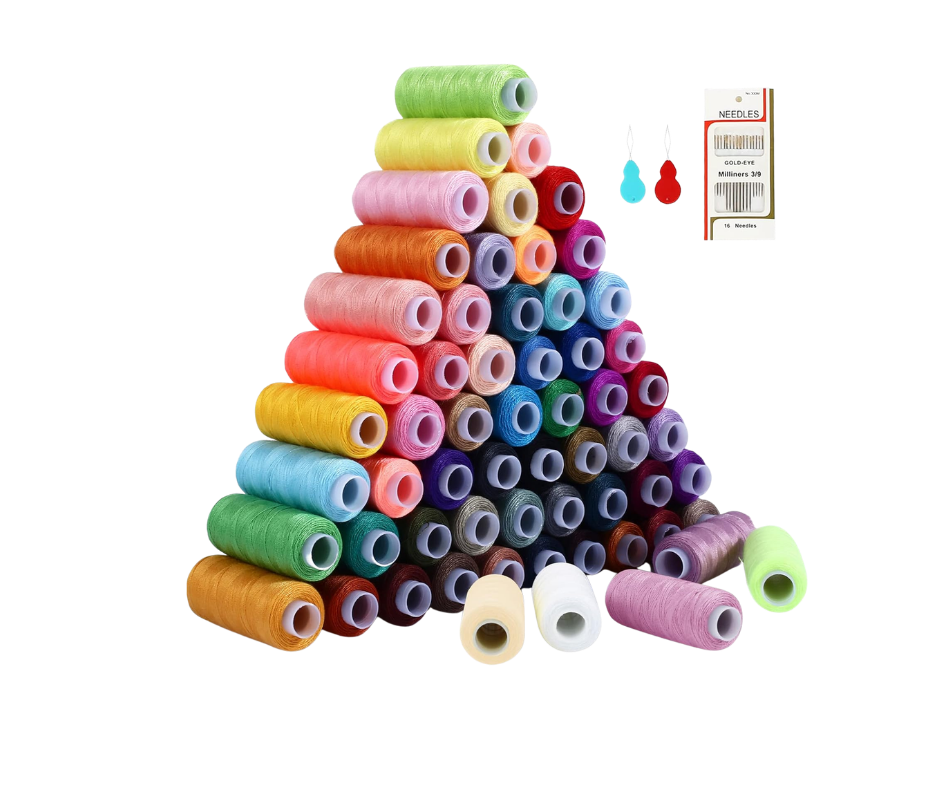
- Needles your machine will come with needles but you will need a basic pack for hand sewing
- Thread I started with a pack of 60 colours of cheap thread which I still using now. I have also used Gutermann which is great quality. I recommend you start with 1-4 neutral colours which will cover all your early projects
- Fabric kick off with simple cotton, until you feel more confident, its less slippy and holds its shape
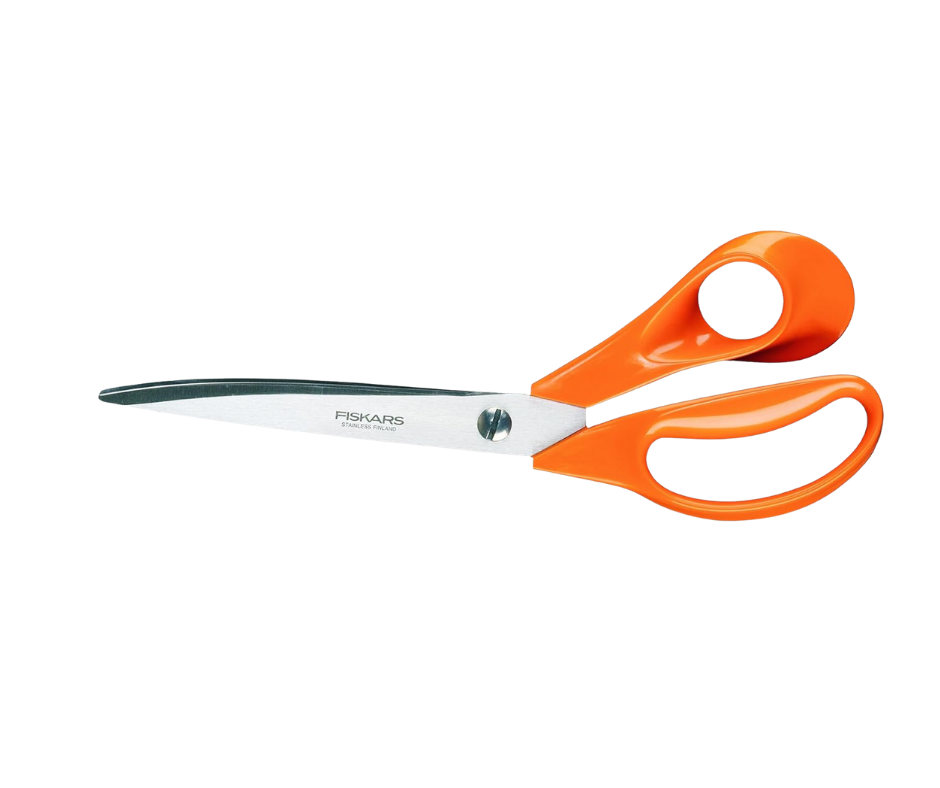
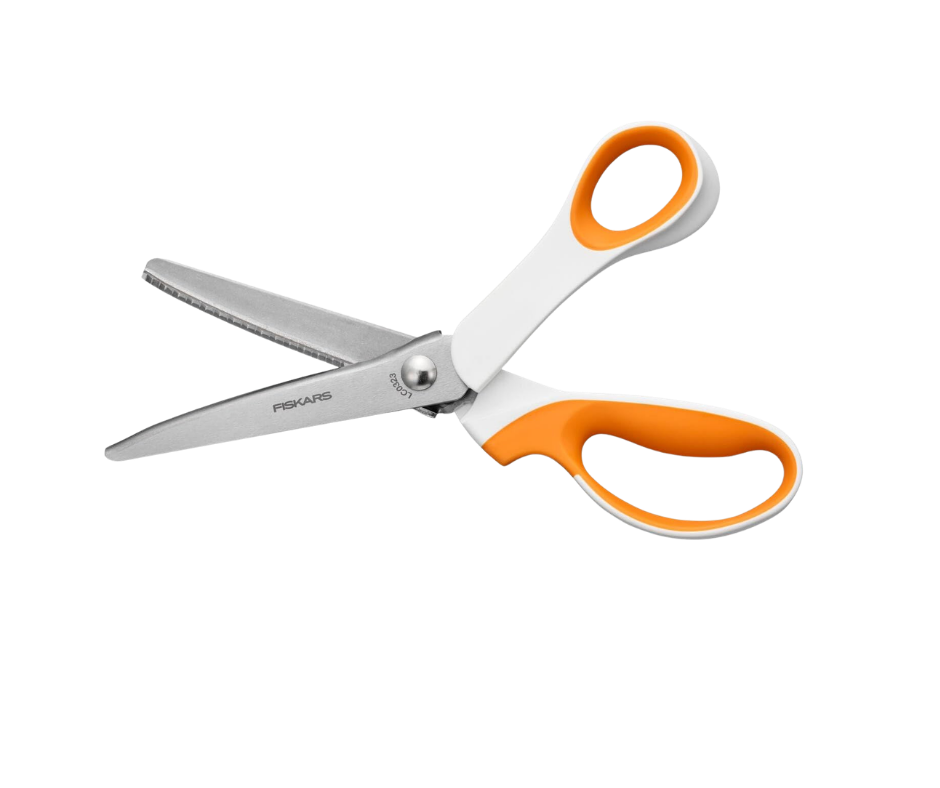
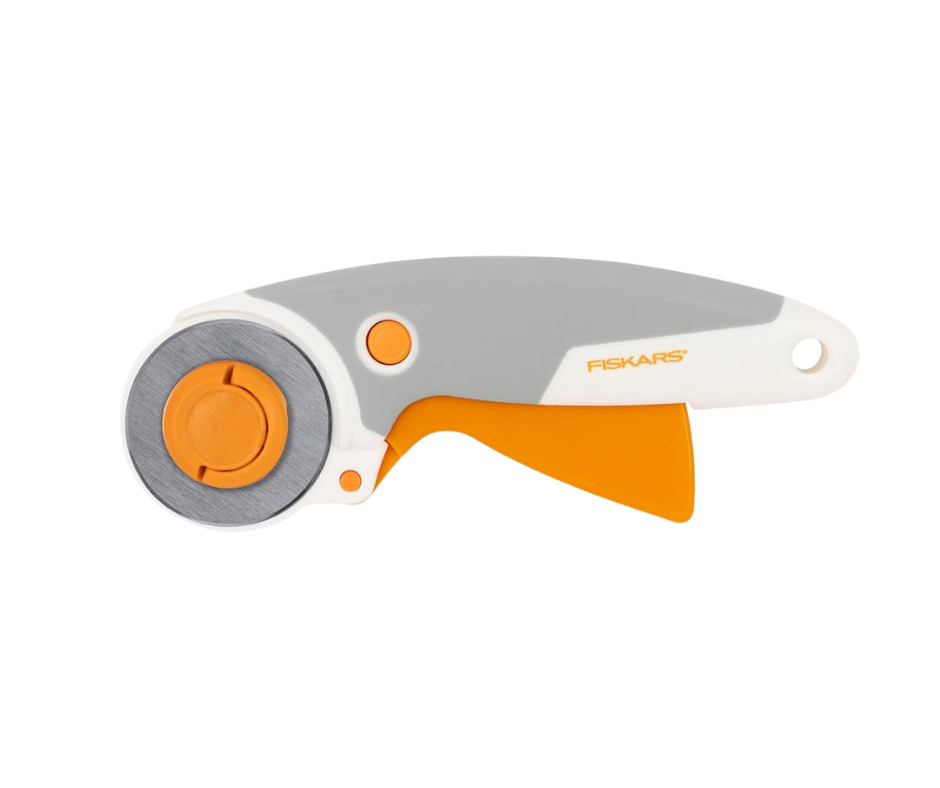
- Fabric scissors my favourites are Friskars, you may also choose to use a rotary cutter for cutting out patterns.
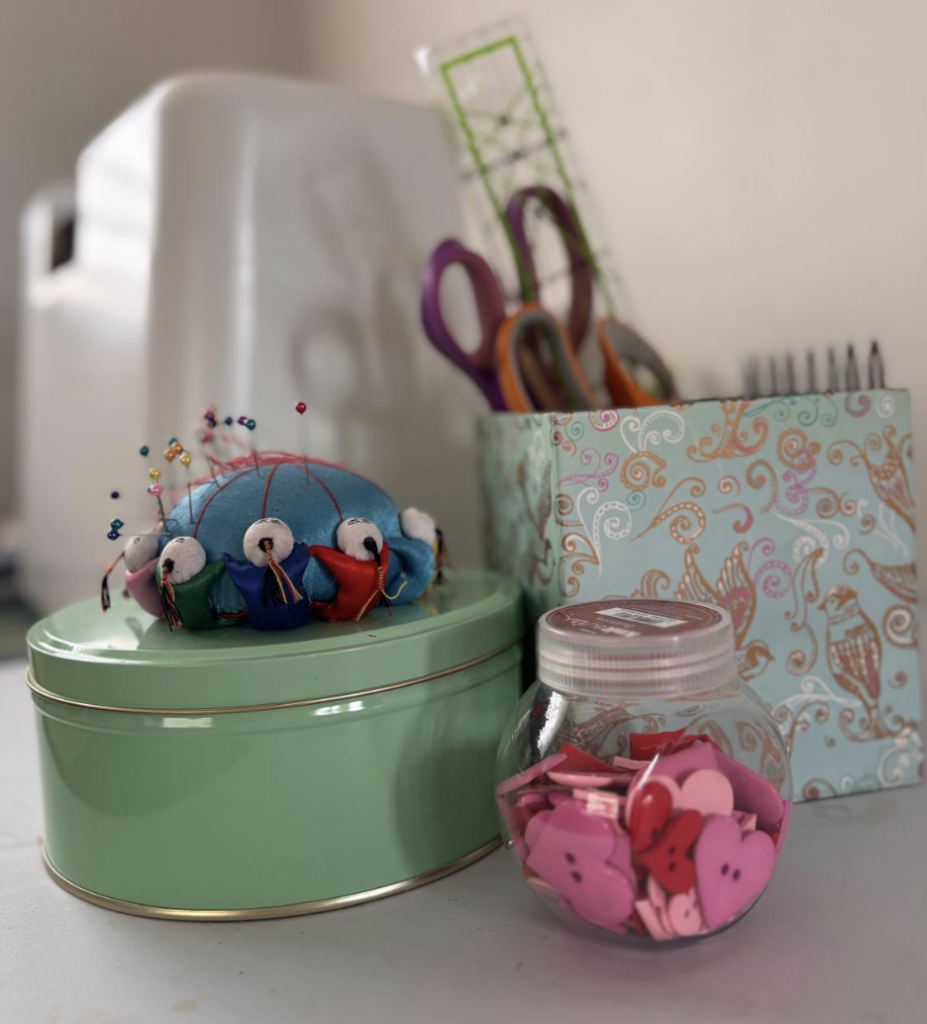
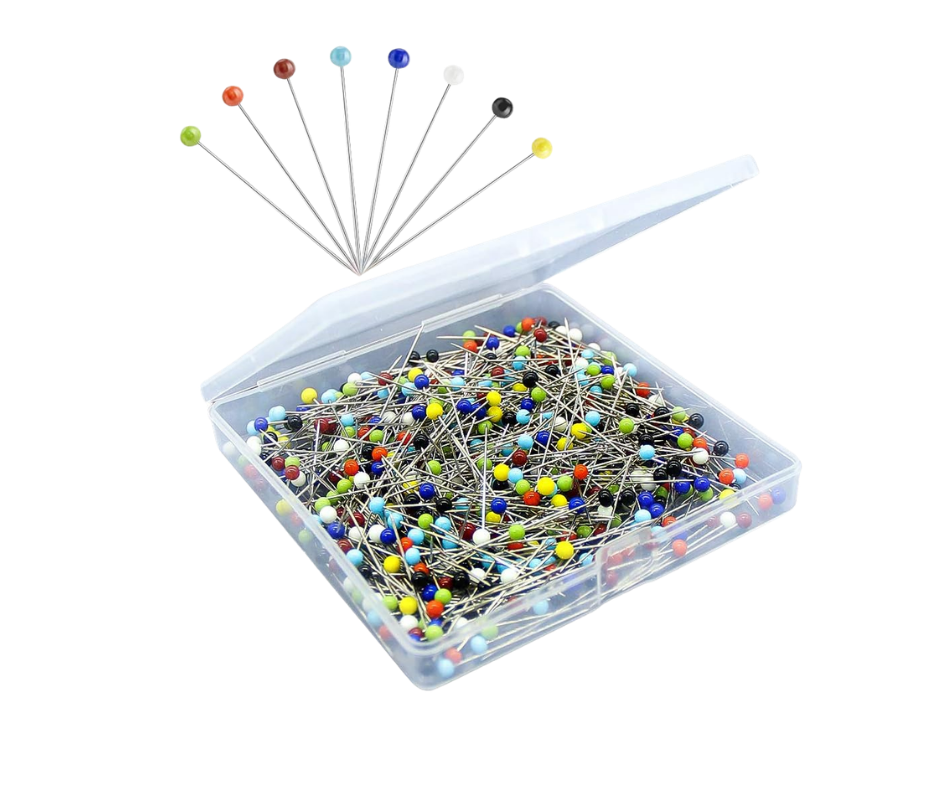
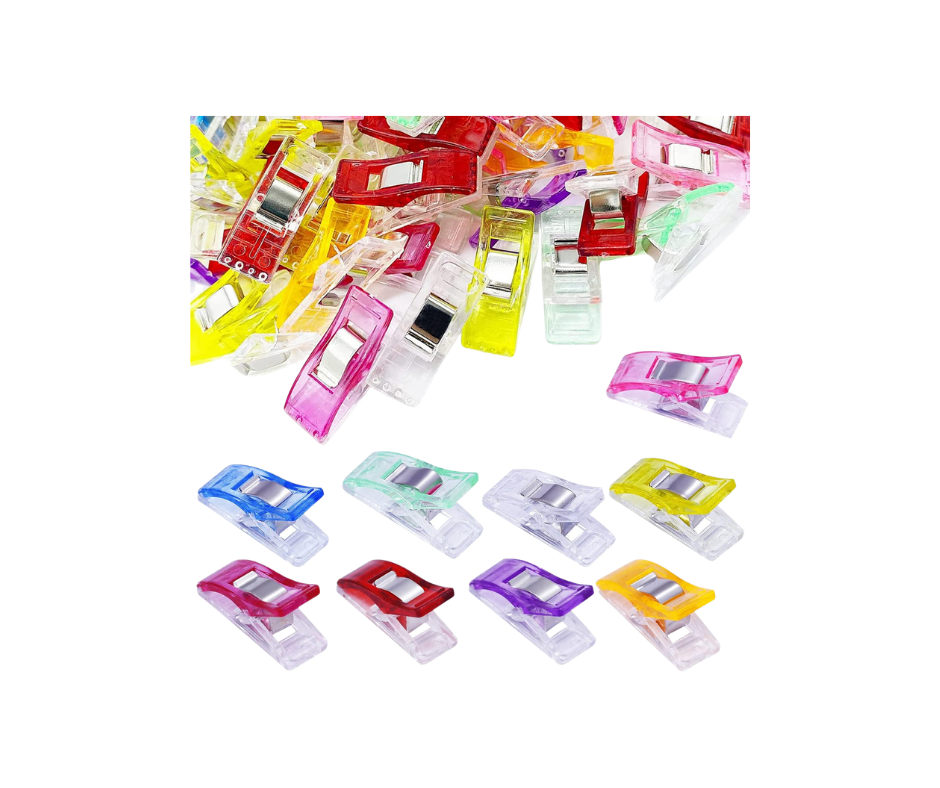
- Pins a must and come in all shapes and sizes, fabric clips are also a fab alternative for soem parts of your project.
- Measuring tape a must, what more can I say.
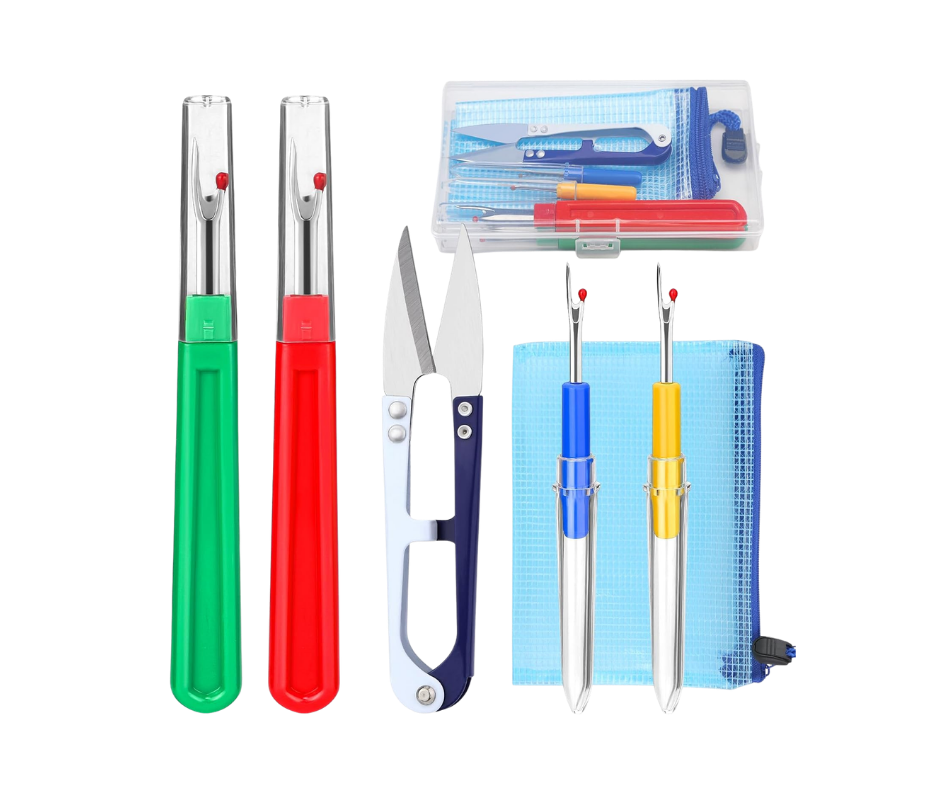
- Seam Ripper, the amount of seams I’ve had to rip, I would say these are one of my, most hated and loved tools!
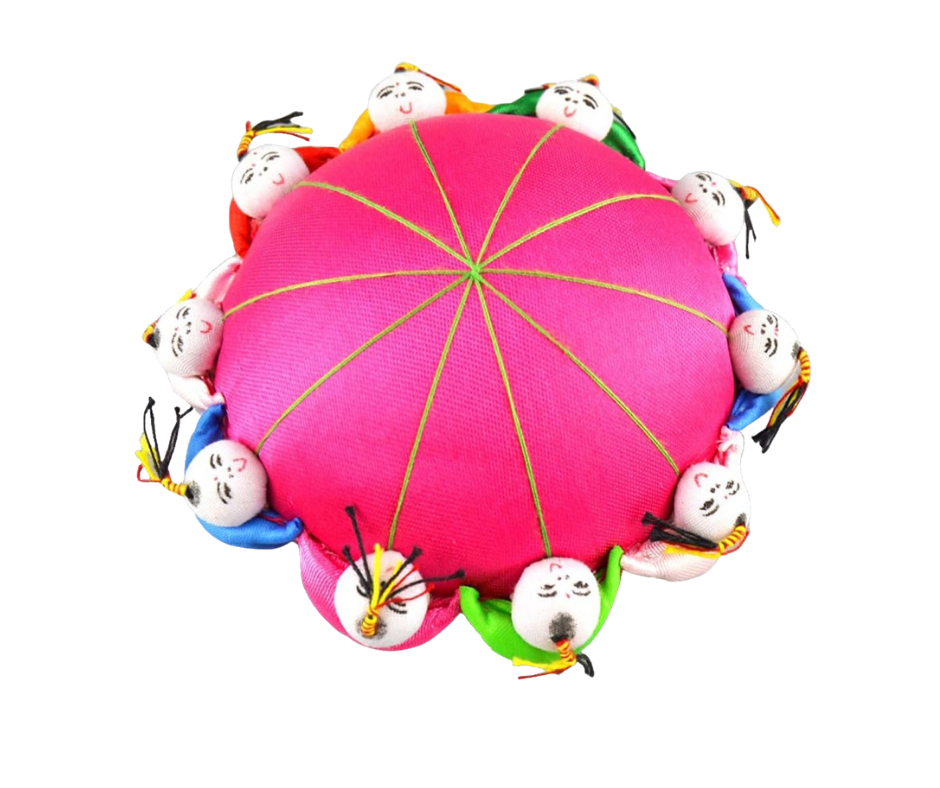
- Pin Cushion I would say this is a must, you can also get a magnetic bracelet or ring which keep your pins altogether
Not Essential… but you’ll want them later
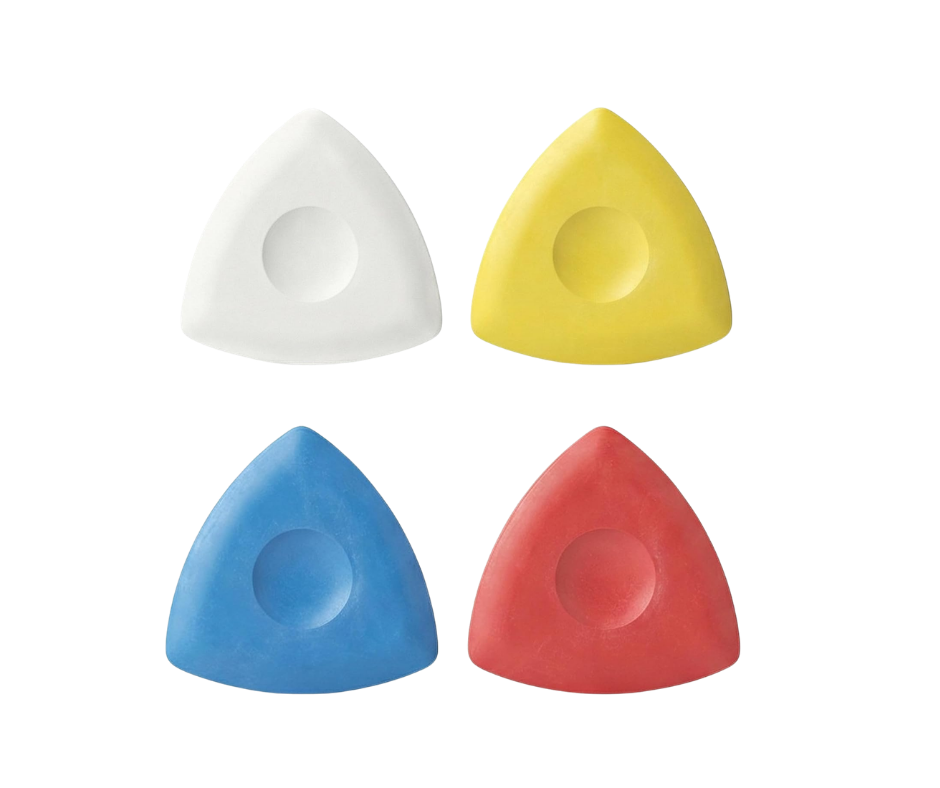
- Tailors chalk useful for making marks on your fabric if you are using a pattern
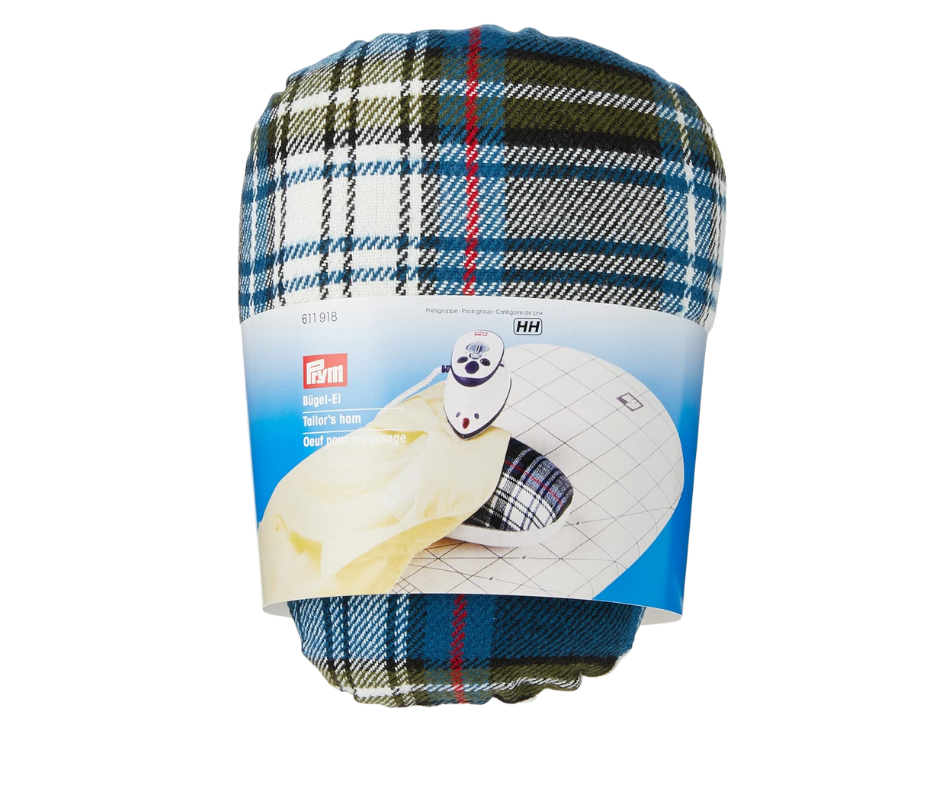
- Iron and ironing board pressing seams as you go is a must when you really get going, maybe start as you mean to go and press as you go any way. I have a couple hams, yes hams! These are excellent for pressing properly
- Fabric weights these help keep your fabric in place while cutting out
- If you don’t want to work on your kitchen table or the floor then I bought a foldable table which has been a great addition to my extras
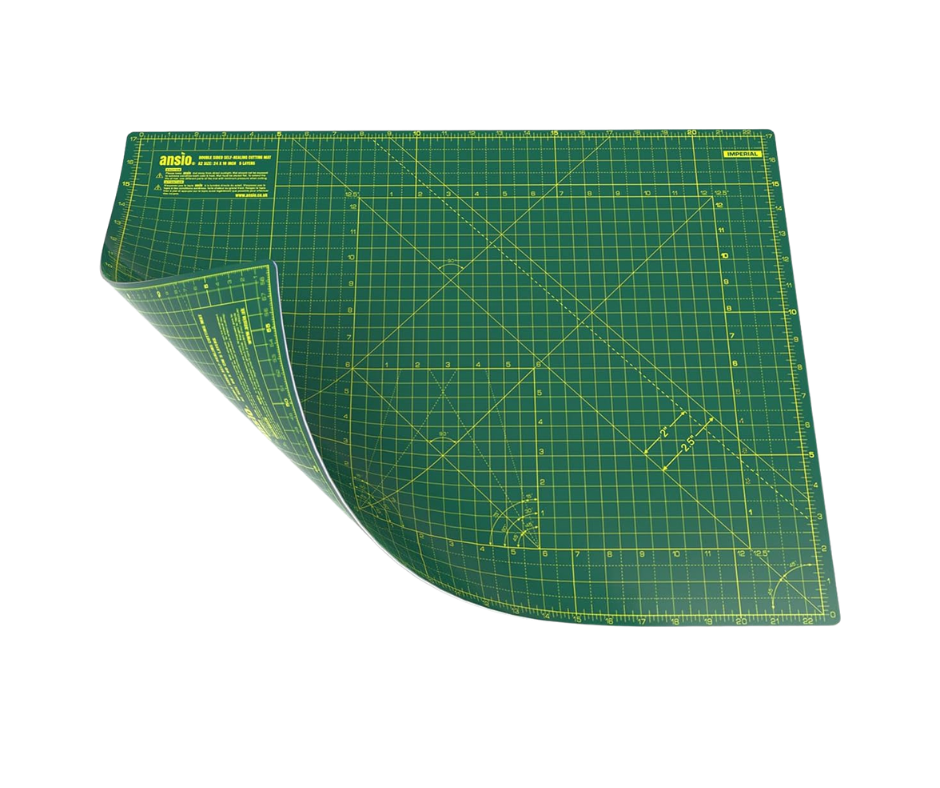
- Trigger Rotary Wheel is a great way to cut out patterns, but beware, you’ll need a cutting mat so you don’t ruin your surfaces
Final Thoughts
At the end of the day, you don’t need a perfect set up, just a few good basics and the willingness to have a go. Don’t worry about getting it wrong, that’s what your seam ripper is for!! I learned so much from watching Youtube videos, which really helped build my confidence. You can even buy patterns that come with step-by-step video tutorials showing you how to make the garments. Sew Essential and Minerva have fantastic tutorials that genuinely made my sewing life so much easier. If you want to see what else I bought, then shop the post.

